
If you’ve been thinking about building a tennis court in your backyard, there’s a lot to consider. Let’s break down the steps so that the end result is what you expect.
Planning Before You Build
First thing’s first. Can you actually build a tennis court in your backyard? Start by checking the HOA and zoning laws where you live. You might be able to have a residential tennis court under the zoning laws, but there may be specific requirements or restrictions.
In some places, you have to build your court so many feet away from the road, and you may not be able to install the lighting or fencing that you want. Before you ever start to think about a tennis court, familiarize yourself with the laws in your community. The same can be said if you’re building a tennis court for business purposes.
 Look at Your Space
 Look at Your Space
A tennis court takes up a huge amount of space. You want an area at least 120 feet long by 60 feet wide. The best position for a tennis court is to have it run north to south. This way neither player will have the sun in their eyes. Even if you have the space for the court, you will need to think about the elevation of your space. Ideally, the tennis court should be perfectly level.
You also need to consider drainage and any amenities you want to add, such as seating, fencing, and landscaping. Don’t forget that the tennis court shouldn’t be too close to your home, because flying tennis balls can do a lot of damage to your siding and windows. While you’re thinking about space, make sure the space is accessible to heavy equipment that will be used during the tennis court’s construction.
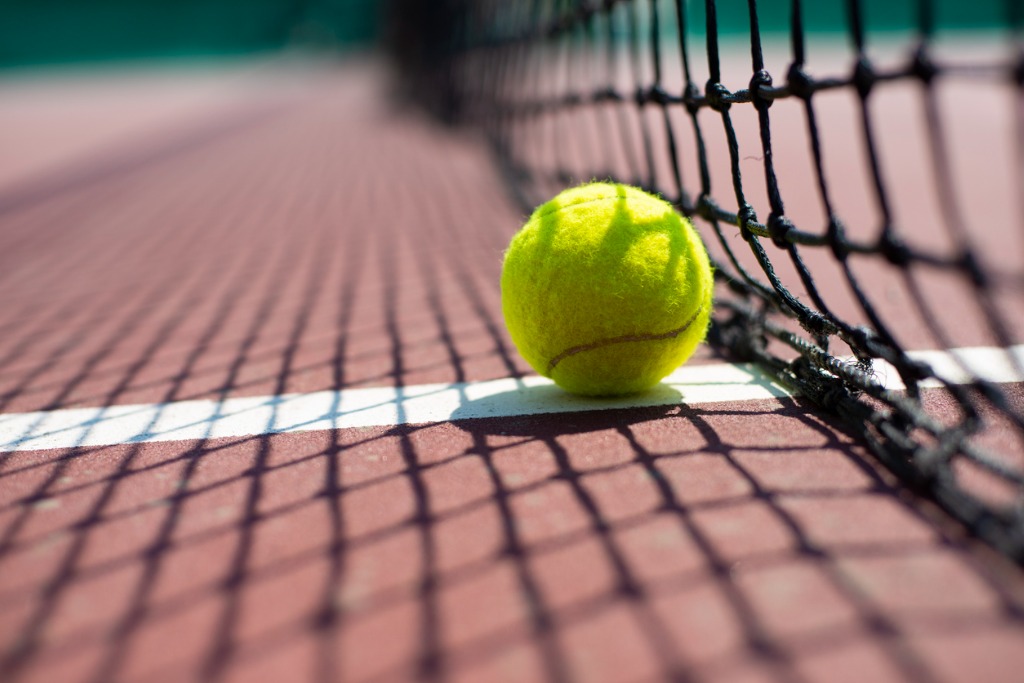
Choose the Right Surface
Before you ever start to tear up your yard to install a tennis court, you want to think about the type of surface, as this will affect your style of play. There are three basic choices, all with their own pros and cons.
Grass
Wimbledon is played on a grass court, which is considered the premiere surface. Grass courts typically produce a lower bounce, but the ball can move faster because the surface is slippery. The problem is regular maintenance. It’s not enough to water and mow the court. Just like a golf course, the grass must be well-manicured. You’ll also want to make sure to have good drainage, because you won’t be able to play on a wet court.
Clay
Clay courts have a deep red color scheme, which makes them very dramatic. The clay surface reduces the natural speed of the ball, but the ball can bounce much higher due to the dusty surface. One good thing about a clay surface is that it is much easier on your body because it is a softer surface.
The bad news is the maintenance is daily. The court will need to be brushed and watered each day to maintain its integrity. New clay will need to be added throughout the season, as clay erodes over time due to consistent play and weather.
Hard
Hard courts are generally made of either concrete or asphalt. These courts are the easiest to maintain, but the hard court can be harder on the body than clay or grass.
Hard courts are slower than grass, because the surface is more predictable, but they are faster than clay courts and have a higher bounce that is more predictable. You will need to seal the court every two to three years, and the court will need to be cleaned throughout the season to keep it safe for players, but maintenance is minimal.
Prepare the Area
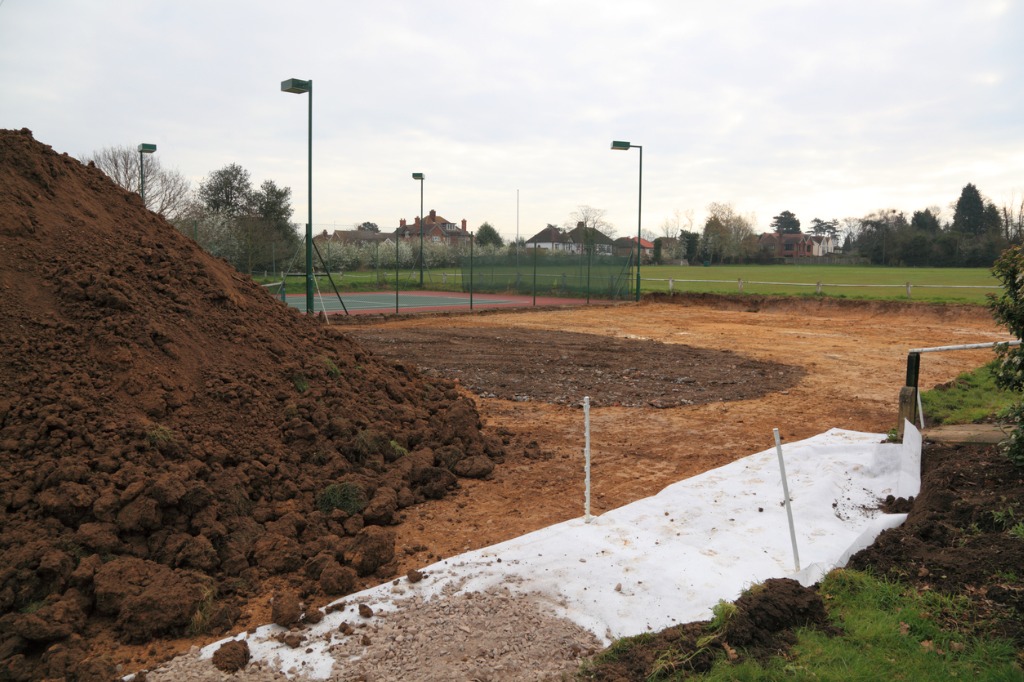 Prepare the Area
Once you know where the court is going and what type of surface is going in, you can begin to prepare the space. Plan on using excavation machinery to get the best results. You may need to rip out the grass, trees, landscaping elements, and anything else in the way. A steamroller can help get the ground level. Depending on the soil and surface you’re installing, you will probably want to install an under-layer with proper drainage.
Lay the Surface
Once the ground is prepared, you can add the surface. This is when you can finally feel like you’re seeing progress. The surface will last longer if the ground is prepared correctly, so don’t skip to this step to get playing quicker. If you’re using concrete or asphalt, you will need to paint the surface. If the court is in your backyard, you aren’t limited to green. You can also use tape to install lines.
Install the Net and Any Amenities
Now that the court has a surface, install two outside posts and an interior anchor for the net. This is almost its own project because the net should be installed accurately for safety and functionality. There is some precision required. Finally, you’ll want to install any accessories, such as lighting, fencing, windscreens, seating, or any other options you want.
Is a Tennis Court a DIY Project?
Not everyone has the resources or tools to build a tennis court. If it’s in your wheelhouse, you may be able to DIY a tennis court. However, if you’re thinking about putting the investment into a tennis court, it is definitely worth talking to professionals who can get the job done quickly and efficiently, to make sure the court will last and be safe to play on.
McConnell & Associates has over 50 years of experience in tennis court maintenance and installation and has constructed several award-winning courts. We can handle it all, from site inspection and design to ground preparation and surface selection. Contact us to receive a free quote and take your game to the next level.
Reach out to us and become part of a winning team!
